Neck gaiters have become a versatile accessory for outdoor enthusiasts, offering protection from the elements and a stylish addition to any wardrobe. A double layer neck gaiter, in particular, provides extra warmth and can even serve as a makeshift face covering. If you're looking to craft your own, this guide will walk you through the process with ease.
Key Takeaways:
- Learn the step-by-step process of making a double layer neck gaiter.
- Discover tips for choosing the right fabric and tools for your DIY project.
- Understand how to customize your neck gaiter for a perfect fit and style.

Choosing Your Fabric
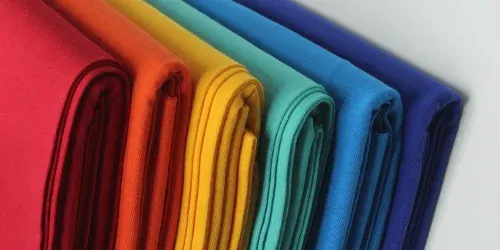
When considering how to make a double layer neck gaiter, selecting the right fabric is crucial. You'll want something stretchy and comfortable against the skin, like a blend of polyester and spandex. For the inner layer, opt for a soft, breathable material like cotton or fleece for added warmth. Make sure both fabrics have a four-way stretch to ensure a snug fit without being too tight.
Gathering Your Tools
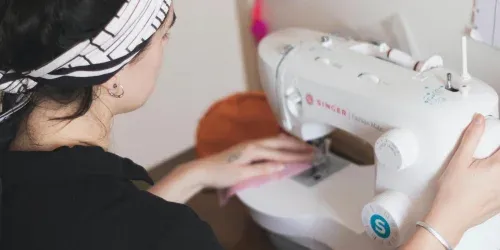
Before you start, gather all the necessary tools. You'll need a sewing machine, thread that matches your fabric, fabric scissors, pins, a tape measure, and a fabric marker. If you're a beginner, consider using a rotary cutter and a cutting mat for precision. Ensure your sewing machine is threaded and in good working order to avoid any hiccups during the process.
Cutting the Fabric
Measure the circumference of your head where the gaiter will sit, typically just above the nose, around the back of the head, and under the chin. Add an inch to this measurement for seam allowance. For the length, decide how much of your neck and face you want to cover, then double that measurement for the two layers. Cut two rectangles of fabric using these dimensions.

Sewing the First Seam
Place the two fabric rectangles right sides together, aligning the edges. Pin along one of the longer sides. Sew a straight seam along this edge with a ½ inch seam allowance, creating a tube. This seam will be the top or bottom edge of your gaiter, depending on how you choose to wear it.
Creating the Second Layer
Turn the tube right side out. Then, insert the second fabric layer into the first, aligning the seams and edges. The right sides of both fabrics should be facing each other inside the tube. Pin around both open ends to keep the layers from shifting as you sew.
Sewing the Second Seam
Sew around one of the open ends, leaving a gap of about two inches unsewn. This gap is necessary for turning the gaiter right side out. Be sure to backstitch at the beginning and end of your seam to secure the stitching.
Finishing the Edges
Carefully turn the gaiter right side out through the gap you left open. Once it's right side out, fold the edges of the gap inward and pin them in place. Topstitch close to the edge around the entire opening to close the gap and give a neat finish to your gaiter.

Customizing Your Gaiter
Now that your double layer neck gaiter is assembled, you can add personal touches. Consider adding a drawstring, adjustable toggles, or even a filter pocket for additional functionality. You can also embellish your gaiter with embroidery, patches, or fabric paint for a unique look.
Summary
Creating a double layer neck gaiter is a straightforward process that can be accomplished with some basic sewing skills and the right materials. By following these steps, you can make a functional and fashionable accessory that's perfect for outdoor activities or everyday wear. Remember to choose stretchy, comfortable fabrics and to customize your gaiter to suit your style and needs.

FAQs
What type of fabric is best for a double layer neck gaiter?
The best fabric for the outer layer of a double layer neck gaiter is a stretchy, durable material like a polyester-spandex blend. For the inner layer, choose a soft, breathable fabric such as cotton or fleece for added comfort and warmth.
Can I make a double layer neck gaiter without a sewing machine?
While a sewing machine makes the process quicker and the seams stronger, you can hand-sew a double layer neck gaiter using a needle and thread. Ensure your stitches are small and even for durability.
How do I care for my homemade double layer neck gaiter?
Care for your double layer neck gaiter by washing it in cold water and hanging it to dry. Avoid high heat when washing and drying to prevent the fabric from shrinking or losing its stretch.
Related Articles:


